skip to main
|
skip to sidebar
Saturday, June 4, 2016
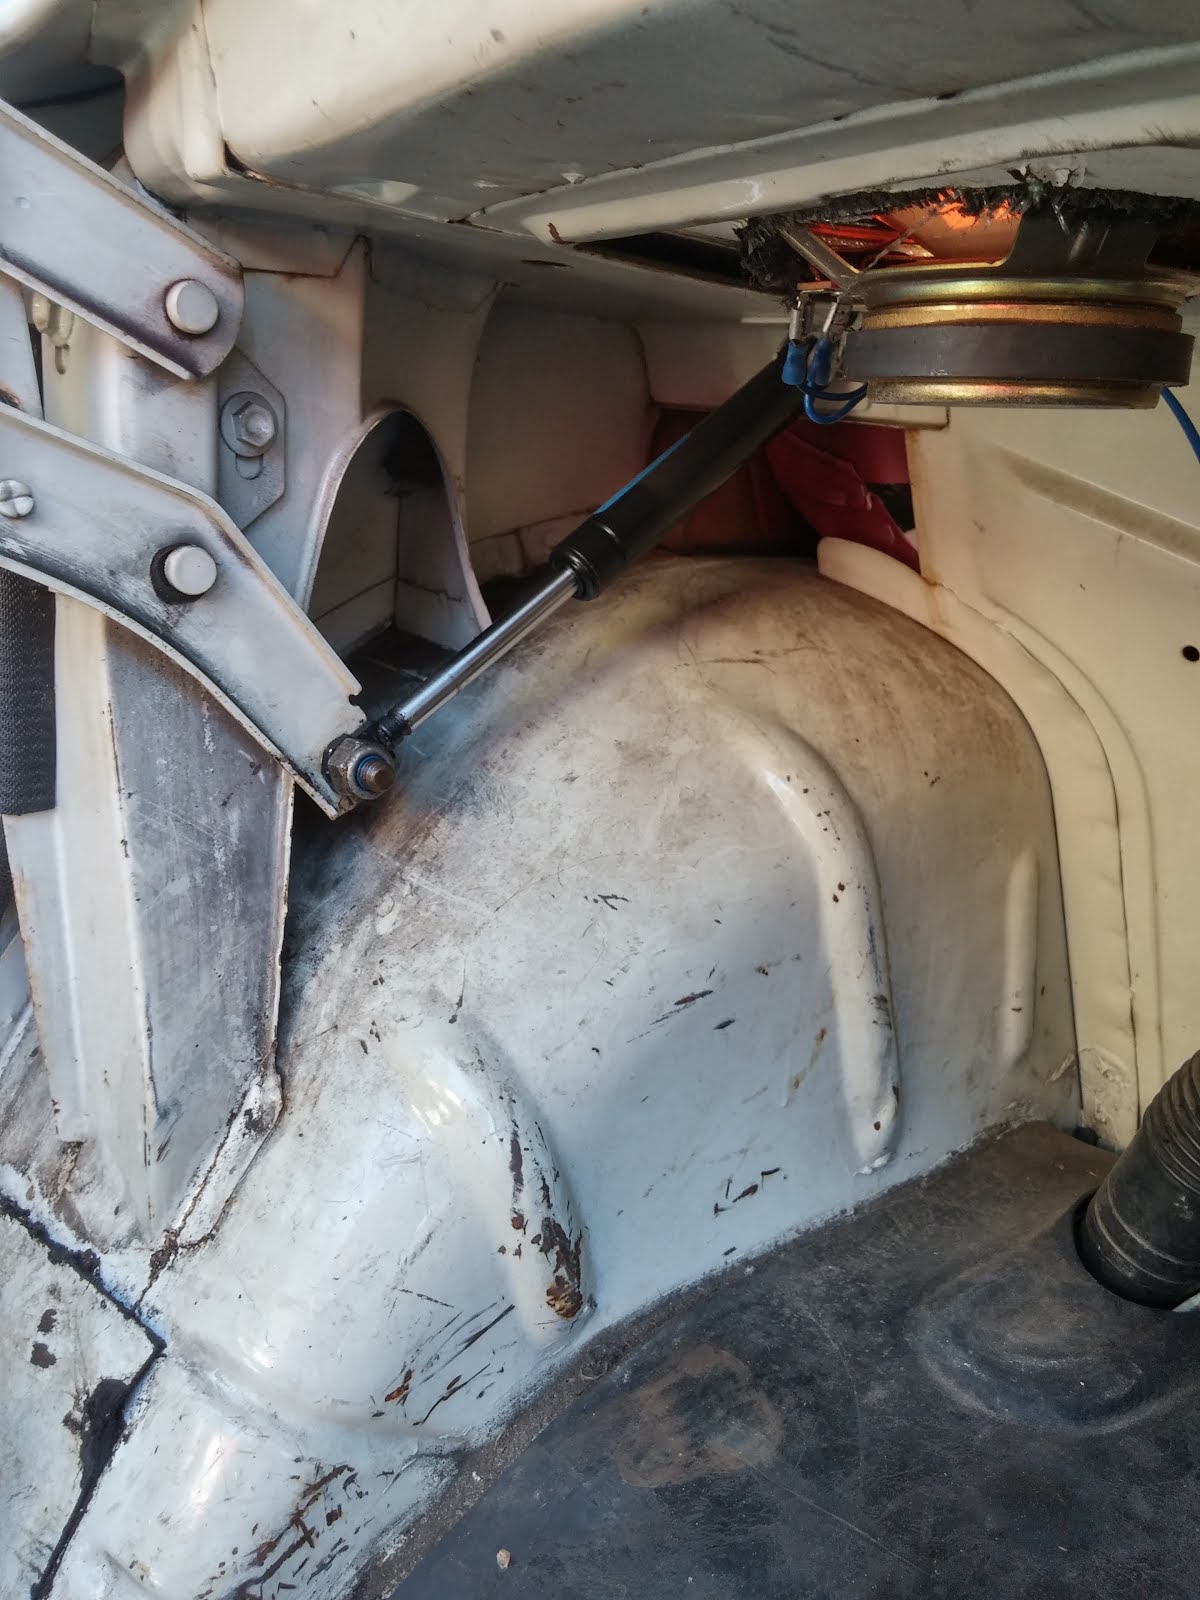
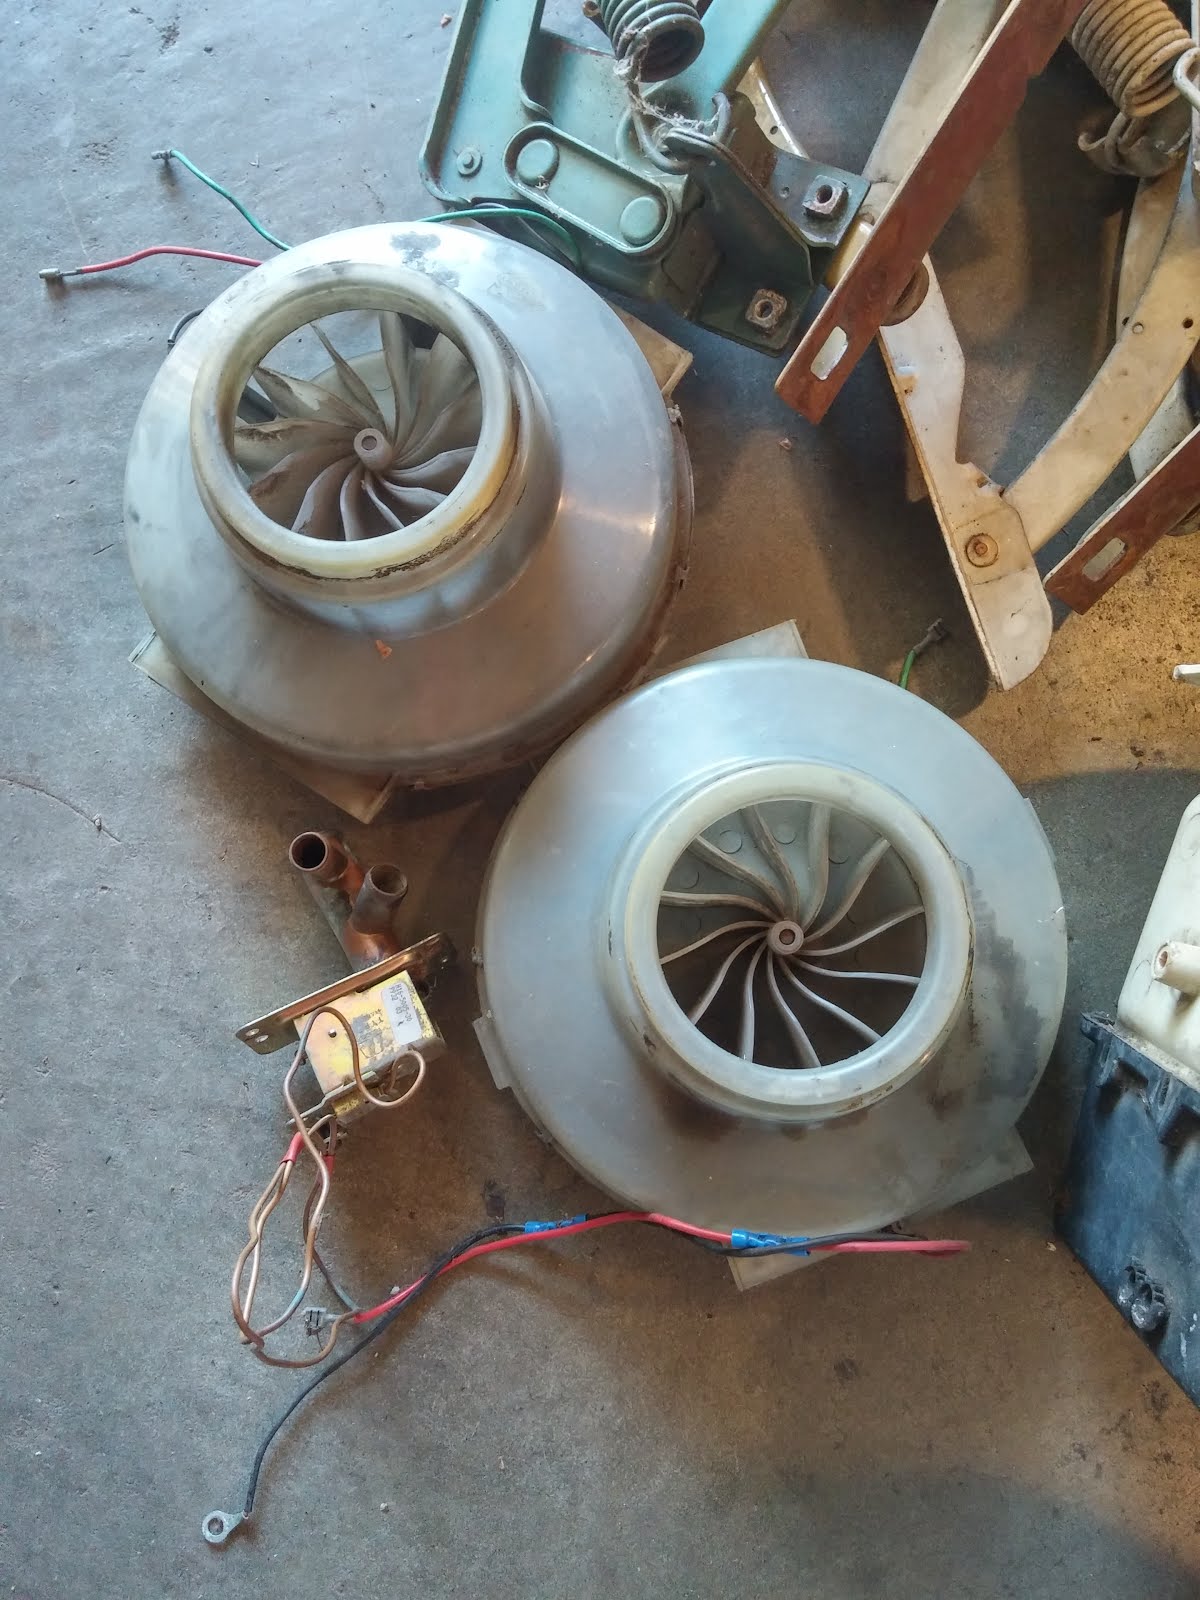
Volvo 142S for sale
This car is now for sale. Please email for details [darrencools@gmail.com].
Older Posts
Home
Subscribe to:
Posts (Atom)
Followers
Contact
speeedshift@hotmail.com
Toolbox
CVI
IPD
O J Rallye
Oregon Volvo Tuners
Scandix
SwedeSpeed
Swedish Treasures
The Volvo Blog
Turbo Bricks
VClassics
Veteran Product
Vintage Import Parts
VLVworld
Volvo Adventures
VPD
Bloggy
Original Square
Imperfectd
Crashbox
archive
Jun
(1)
Dec
(1)
Nov
(1)
Aug
(1)
Nov
(1)
Jul
(1)
Jun
(1)
Apr
(4)
Mar
(1)
Feb
(1)
Sep
(1)
Aug
(1)
Jul
(4)
Jun
(4)
Apr
(3)
Mar
(2)
Feb
(3)
Jan
(1)
Nov
(1)
Oct
(2)
Sep
(1)
Aug
(4)
Jul
(1)
Jun
(1)
May
(1)
Apr
(2)
Mar
(1)
Feb
(2)
Jan
(4)
Dec
(10)
Nov
(5)